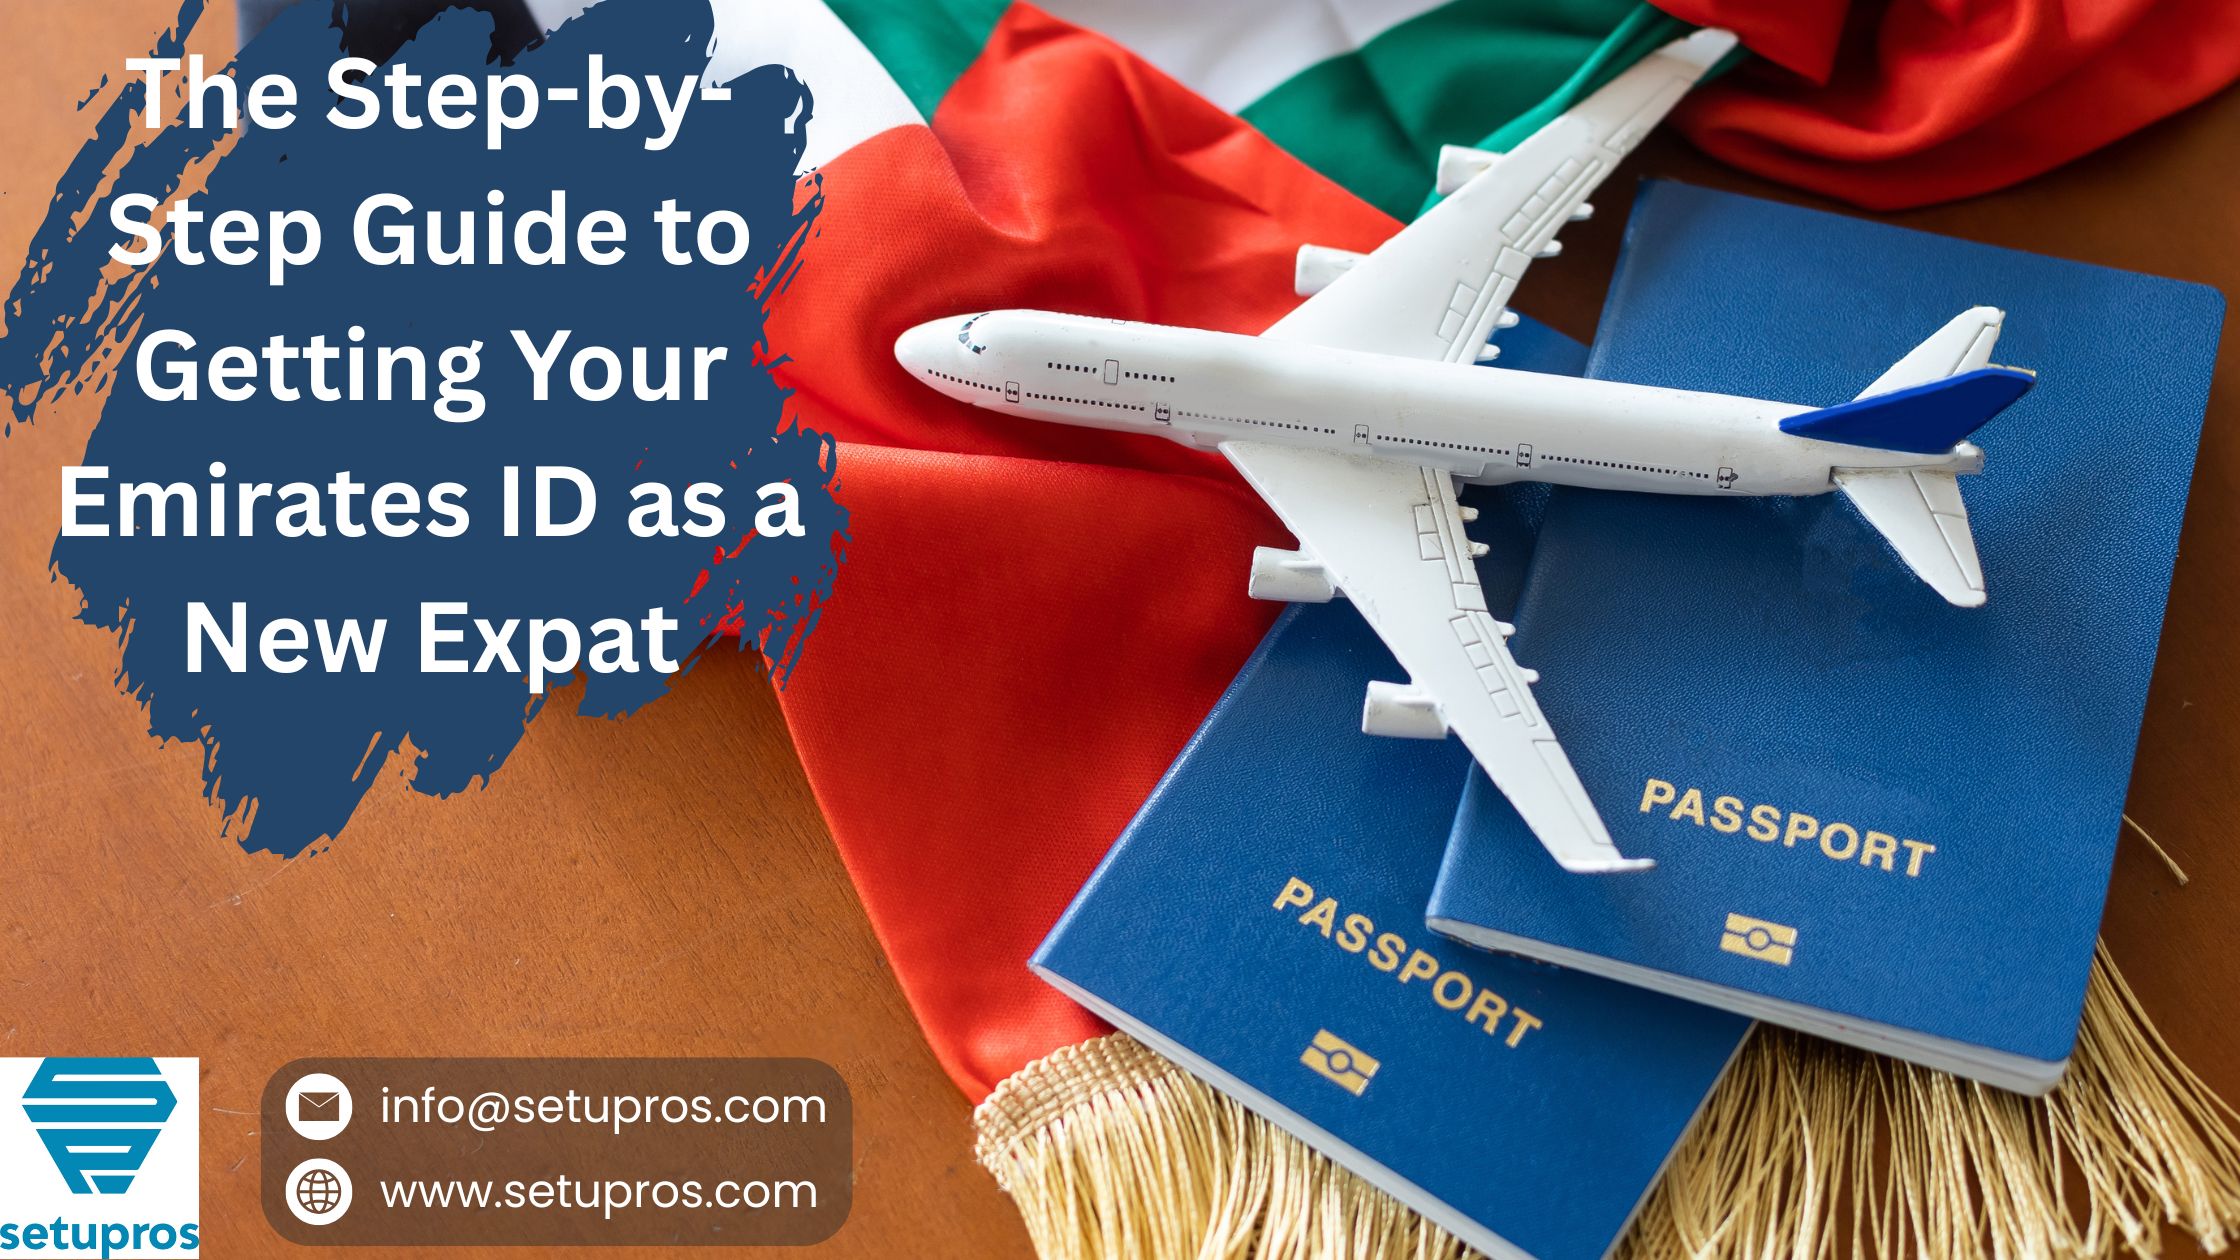

Your Emirates ID is the most important document you’ll carry in the UAE. This guide walks you through the process, requirements, timelines, and how to avoid common delays.
Introduction
Every resident in the UAE must carry an Emirates ID. It’s essential for legal identification, opening bank accounts, accessing healthcare, signing contracts, and more.
Step 1: Get Your Residency Visa First
You can’t apply for an Emirates ID without a valid residence visa. Secure your visa through a sponsor, employer, or your own company setup.
Step 2: Visit an Approved Medical Center
Undergo the mandatory medical test (blood test + chest X-ray). Required for visa and ID issuance.
Step 3: Type Your Emirates ID Application
Go to a Typing Center or apply through ICP Smart Services. Submit personal details and visa copy.
Step 4: Biometrics Appointment
New applicants must visit a designated ICP (Identity and Citizenship) center for fingerprinting and a facial photo.
Tip: Carry your passport and visa copy.
Step 5: Track Application Progress
Use the ICP website to track your application. Processing usually takes 5–10 working days.
Step 6: Collect Your Emirates ID
Once approved, your Emirates ID will be delivered to your local Emirates Post office or your address if selected.
Common Delays to Avoid
- Incorrect data entry at typing center
- Missing or outdated visa copy
- Skipping biometrics step
- Applying before visa is officially stamped
Final Tip:
Renew your Emirates ID before it expires to avoid penalties. For personalized assistance, we can guide you through every step.
📩 Need help fast-tracking your Emirates ID process?
Reach out to us at https://setupros.com or email [email protected].